
Advice for Building a 4Runner: Lessons We Learned After Years of Builds
Posted by Jordan Harris on 03 17, 26
If you are building a 4Runner, the wrong shortcuts can cost you time, money, and a lot of frustration. These are the real lessons we learned the hard way after years of tearing apart, rewiring, rebuilding, and wheeling our own rigs.
- 4Runner build advice
- Building a 4Runner
- Advice for building a 4Runner
- 4Runner build tips

Advice for Building a 4Runner From Real Shop Experience
At 4R Customs, we have spent years building some of the most customized 4Runners on the road. There is not a single bolt on our two shop heritage builds, minus what is buried inside the transmission, that has not been cracked loose, upgraded, rewired, or redesigned.
All of that trial and error taught us a lot. Mostly, it taught us what not to do. If you are planning your own build, this guide covers the 4Runner build advice we wish we had from the start.
1. Buy It Right the First Time
If there is one piece of advice for building a 4Runner that matters most, it is this: buy the right parts the first time.
It is tempting to pick up cheaper parts just to hold you over until you can afford what you really want. We see it all the time:
- Smaller tires before the lift
- Cheap spacers before quality suspension
- Temporary wheels before the correct offset setup
The plan usually sounds simple: “I’ll just run these for now.” But what actually happens is those parts come off a few months later and get replaced. We have been there, and it cost us thousands of dollars in “temporary” solutions that did not last.
Waiting a little longer and buying quality the first time usually saves money, avoids extra labor, and keeps your 4Runner build moving in the right direction.

2. You Do Not Need as Many Mods as People Think
This might sound strange coming from a company that sells aftermarket parts, but it is true. You do not need a huge budget or endless upgrades to get out and enjoy your 4Runner.
Before spending money on bumpers, lockers, gears, or long travel, take your rig out and use it. Drive it. Learn it. Figure out where it actually needs help.
We ran difficult trails with OEM bumpers for years. High clearance armor helps, but if you are okay with a few scratches, your 4Runner is probably more capable than you think. The best upgrades come after you understand the truck, not before.

3. The Build Is Never Actually Done
This is one of the most honest 4Runner build tips we can give: your build is never really finished.
Every time you add something new like lights, radios, onboard air, a drawer system, or a fridge setup, it usually exposes another part of the rig you want to improve. A better mount. Cleaner wiring. More storage. Better switch placement. Stronger charging. More protection.
Once you accept that a build keeps evolving, your planning gets smarter. That mindset changes how you choose suspension, storage, electrical components, and mounting solutions from the beginning.
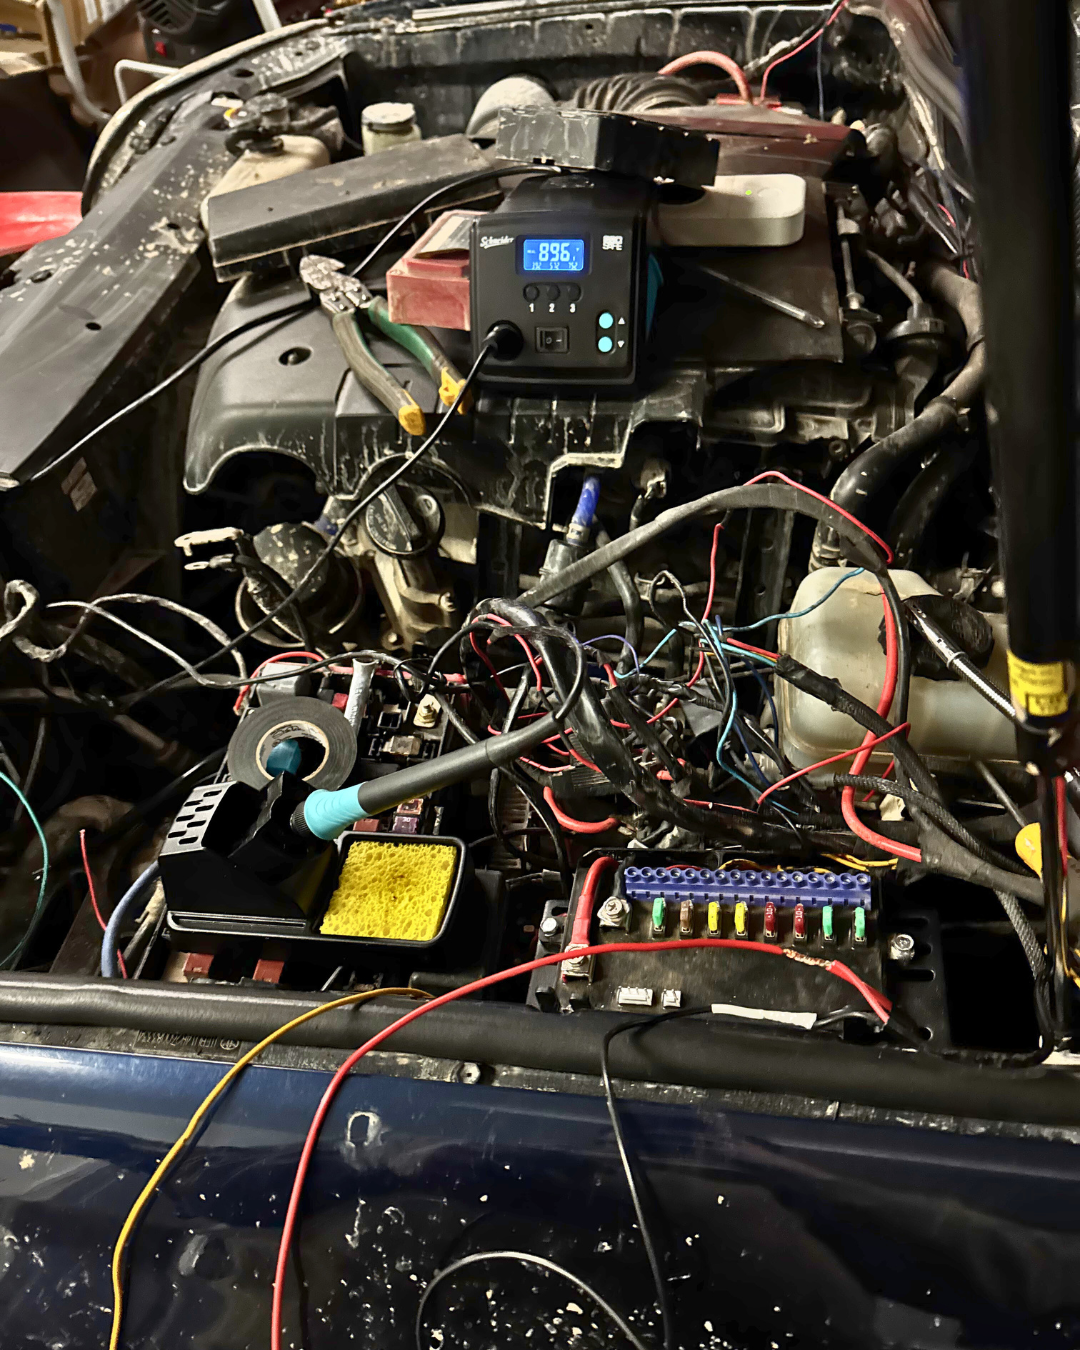
4. Plan Your Wiring for Future Mods
Redoing wiring has been one of the biggest frustrations across our own builds. Early on, we would install accessories, tape everything up, hide it in loom, and seal it all neatly. It looked clean. Until we added something else later.
Then everything had to come apart again.
Now we always leave room for future upgrades when running wiring. Leave circuits open. Leave service loops. Think about what your rig might become a year from now instead of just what it needs today.
Good wiring is not just about appearance. It saves time during troubleshooting, keeps the engine bay cleaner, and makes every future mod easier.
Smart Build Planning Tip
If you already know you want future lighting, an onboard air compressor, power in the rear cargo area, or a fridge system, build your electrical layout around that now. A little extra planning saves a huge amount of rework later.
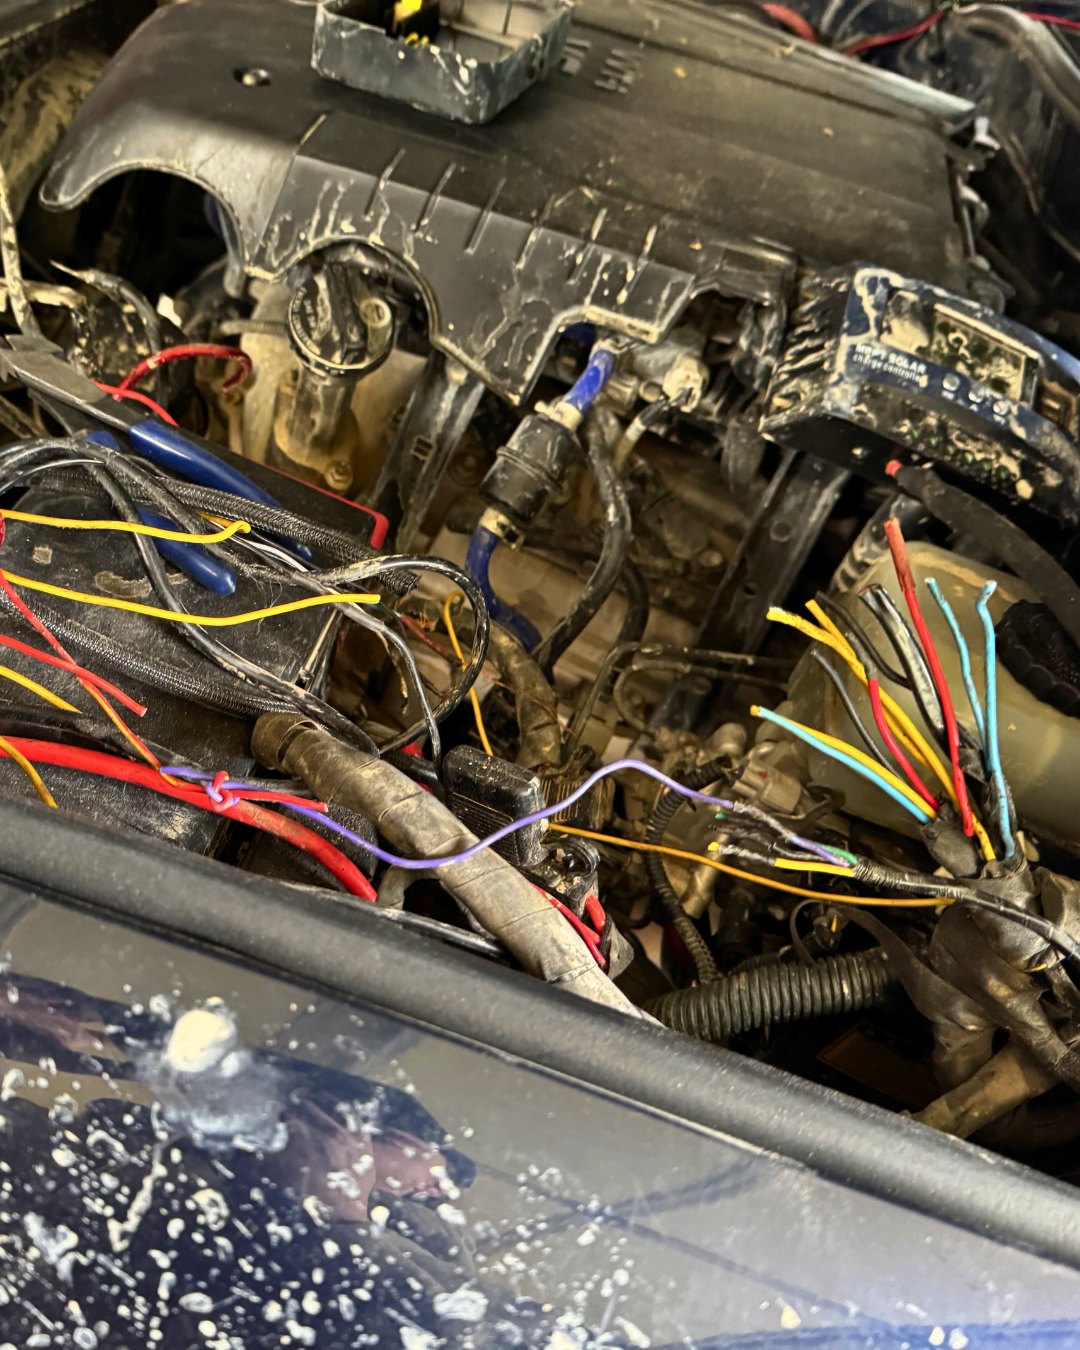
5. Be Deliberate With Your Electrical Colors
This one alone can save you hours with a multimeter.
At a minimum, stick to:
- Red for power
- Black for ground
Never use random colors for ground wires. If possible, go a step further and color-code systems across the rig:
- Blue for your light bar
- Yellow for auxiliary lights
- Red for winch power
- Green for onboard air or compressor circuits
After enough rewiring sessions, we learned that a consistent color system makes every future fix faster and far less frustrating.

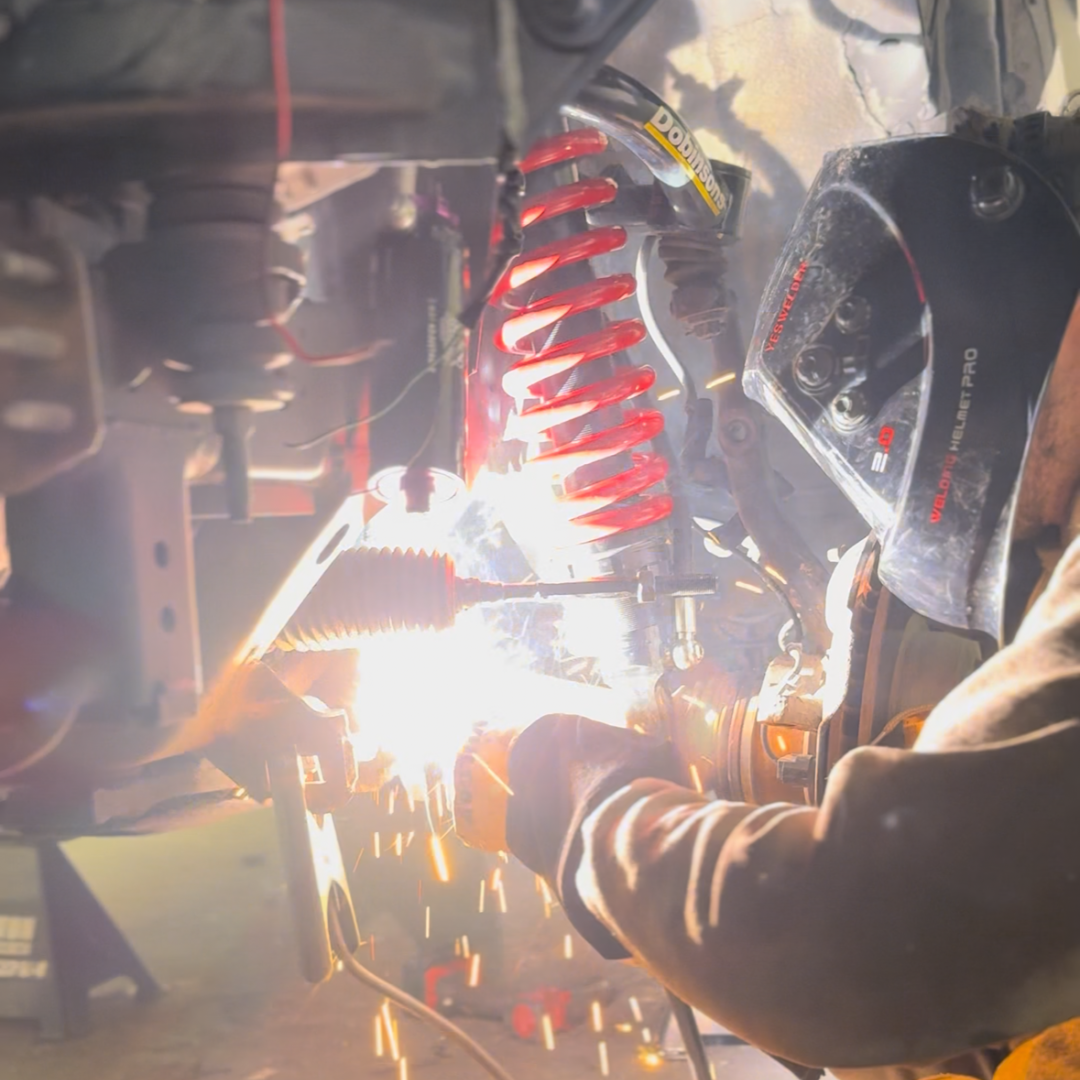
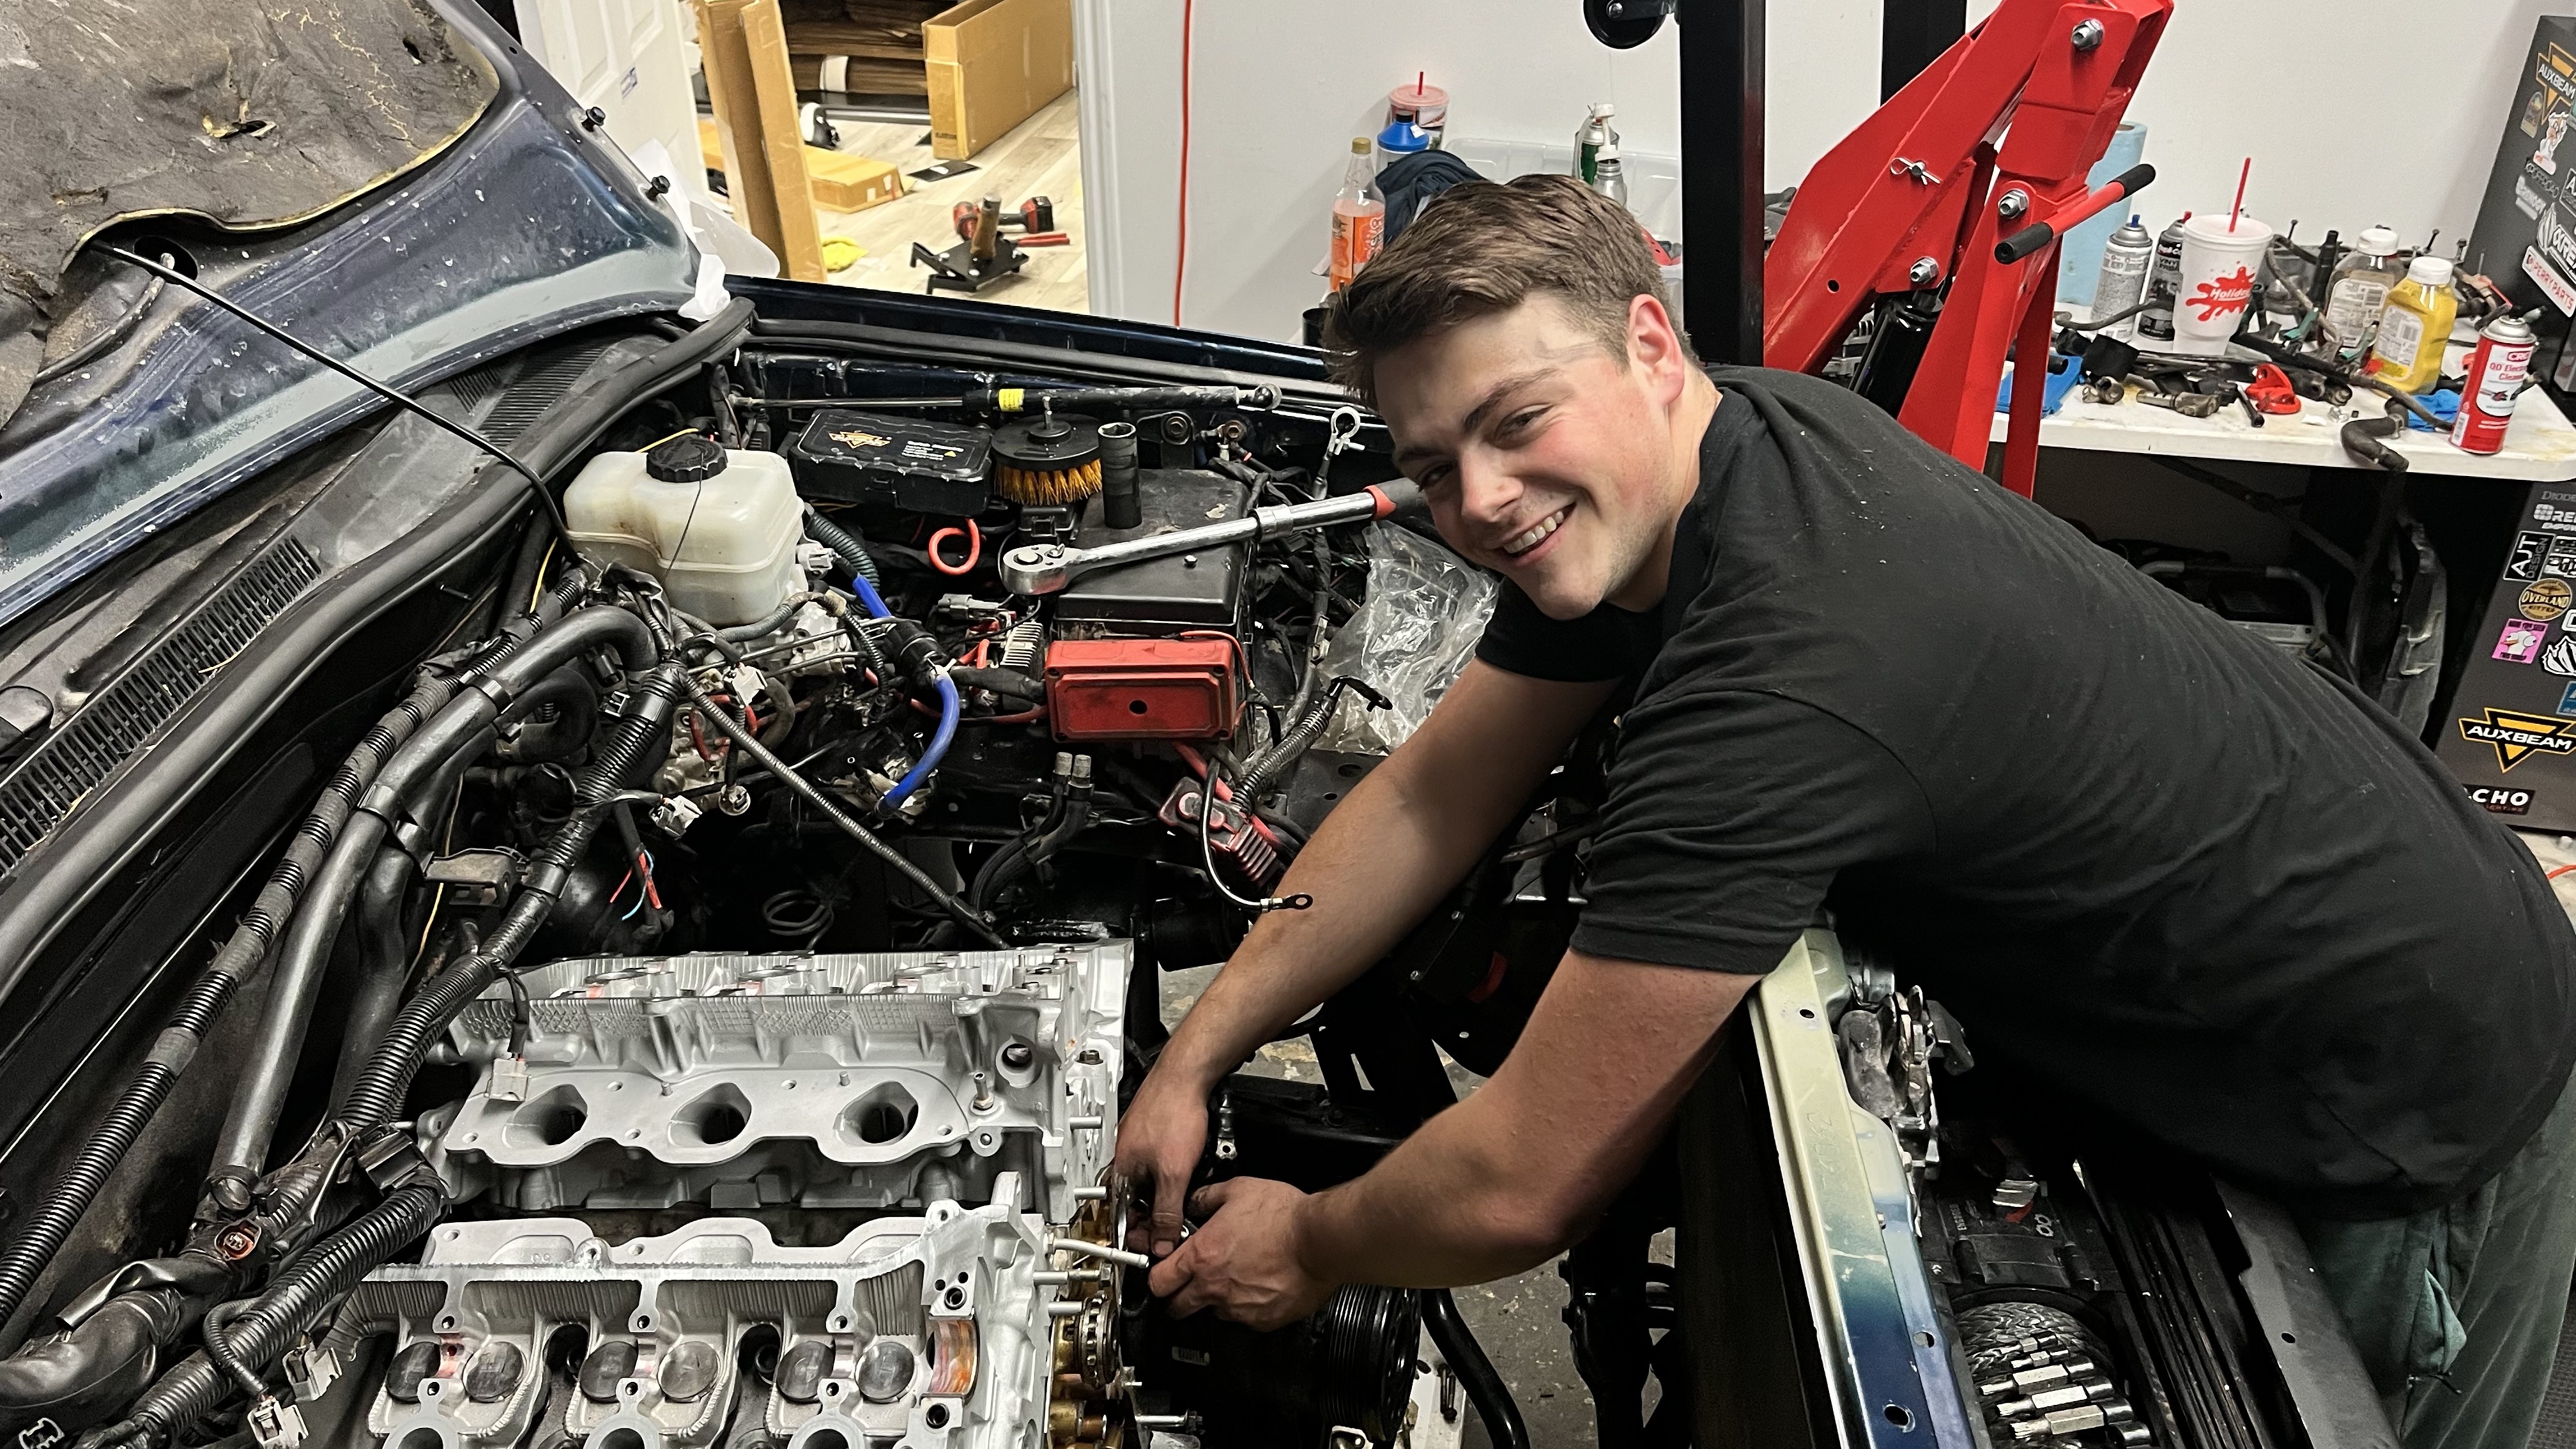
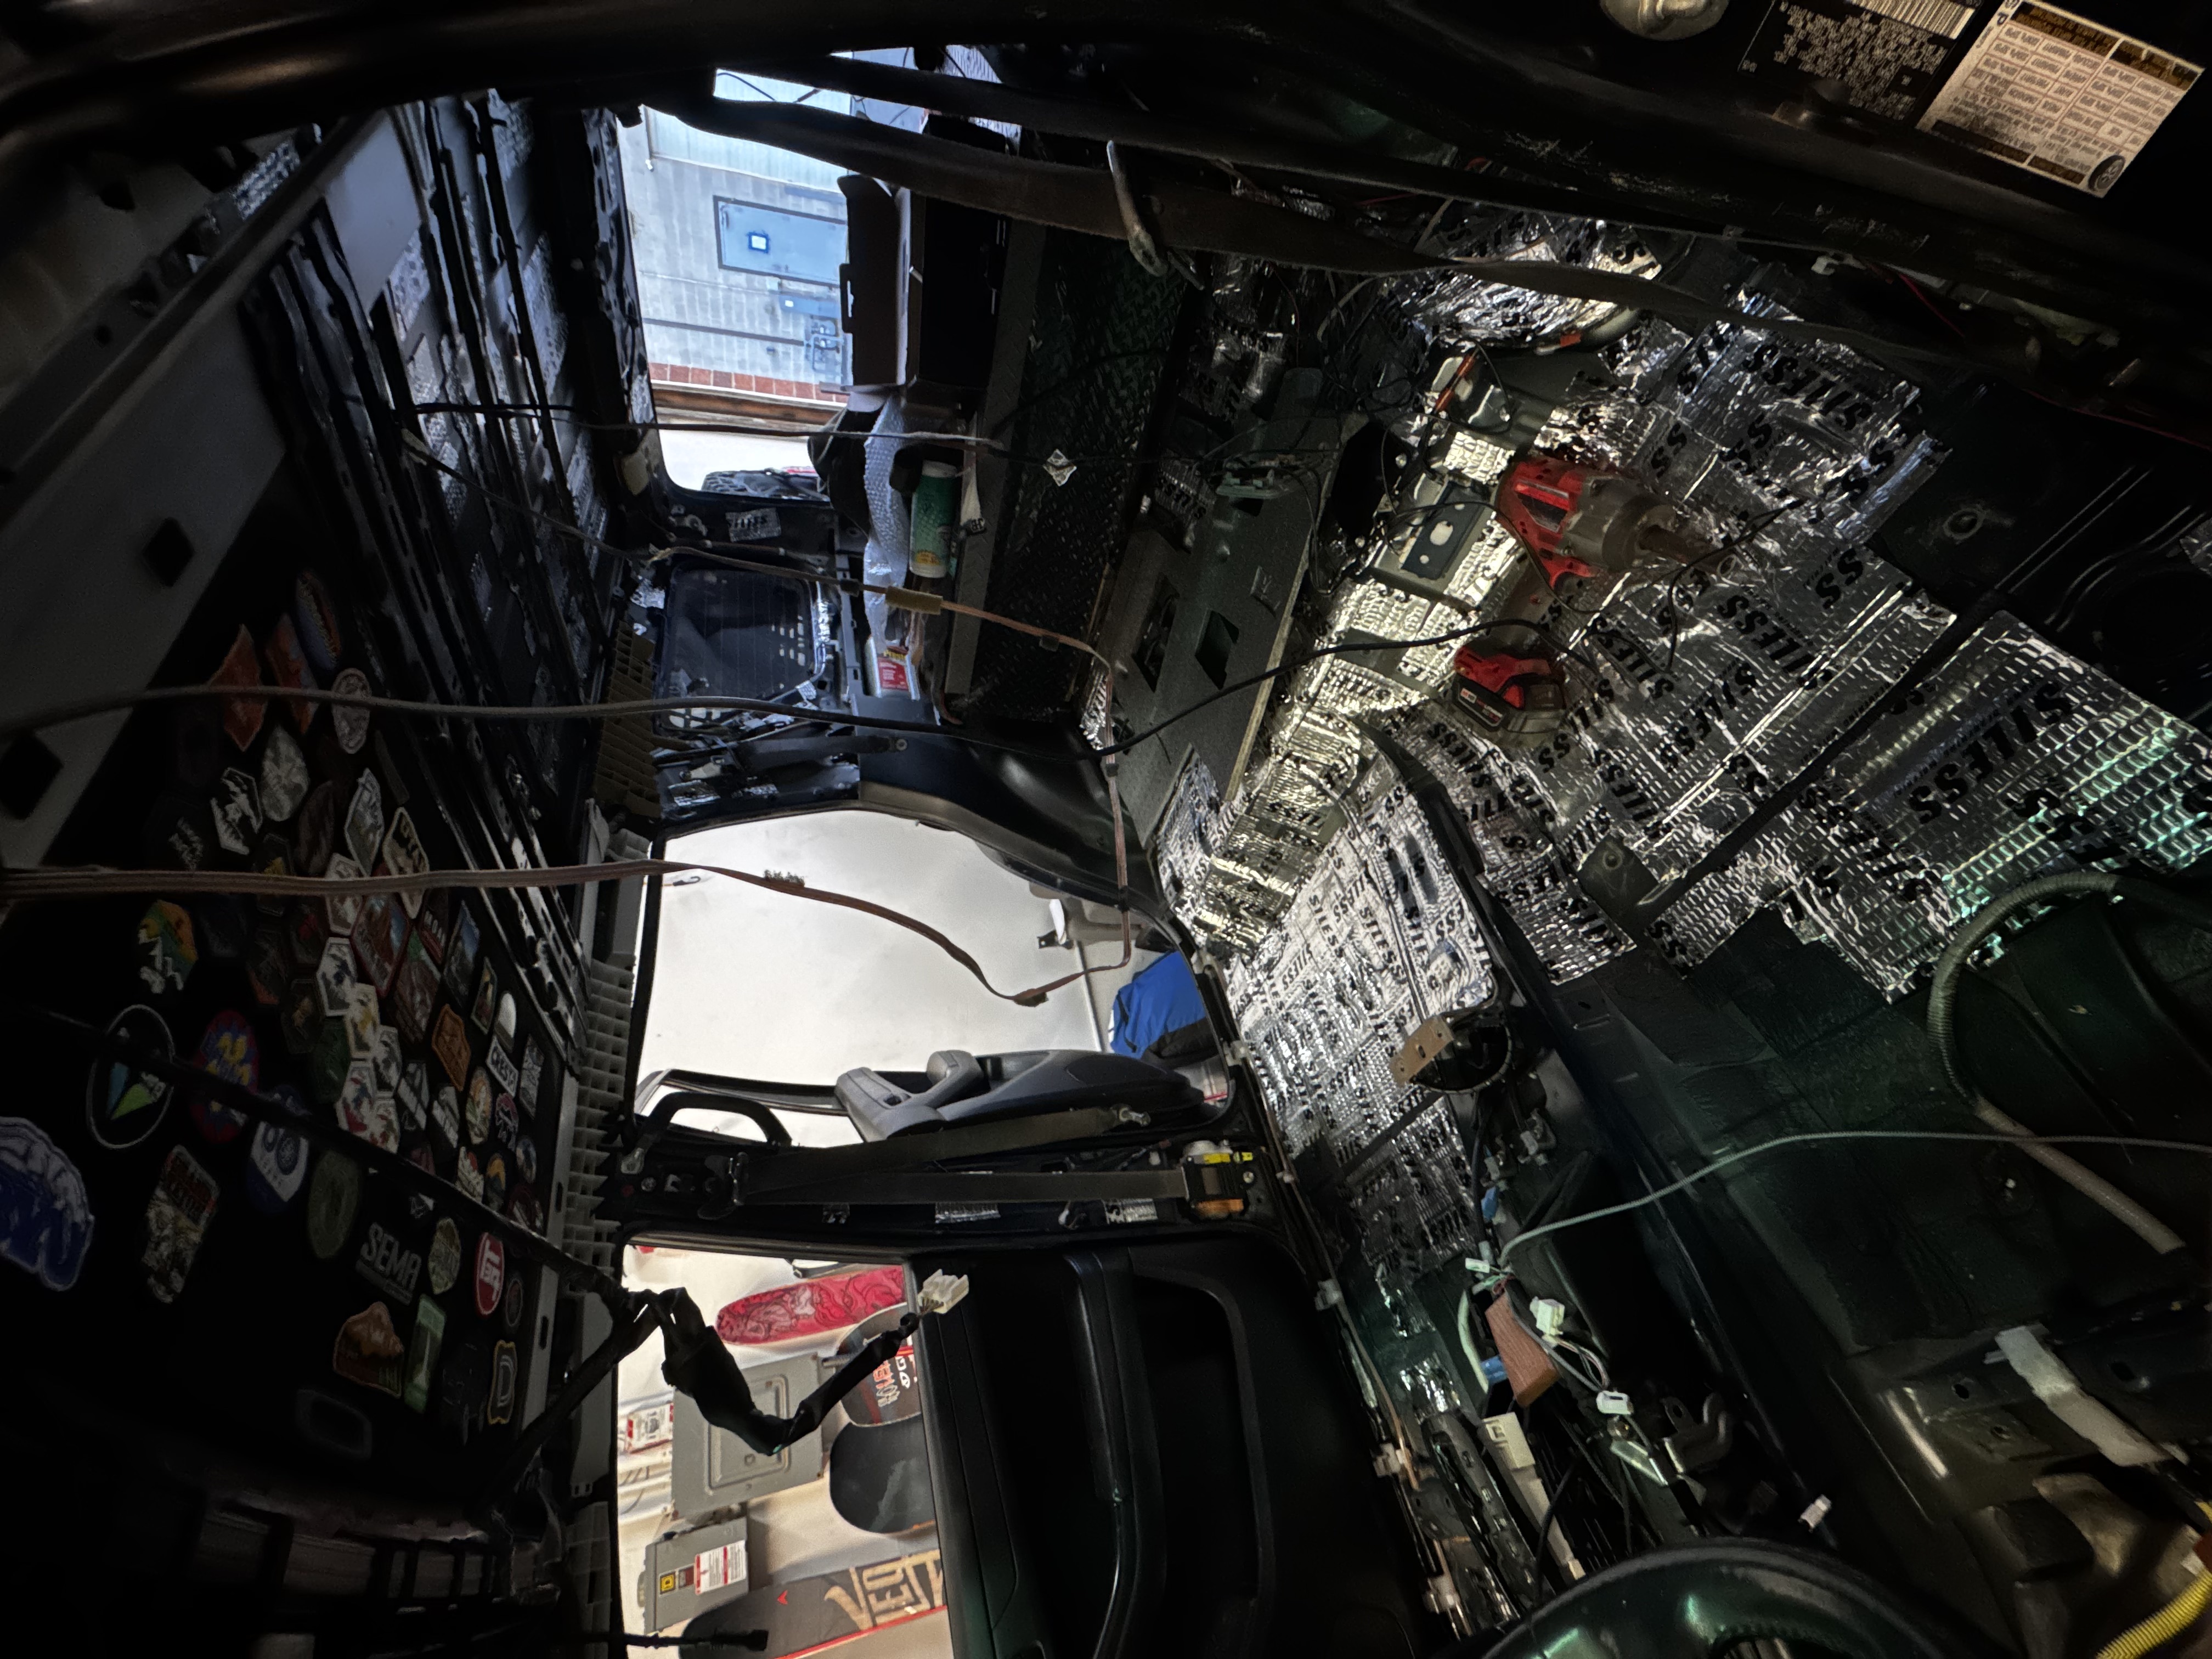
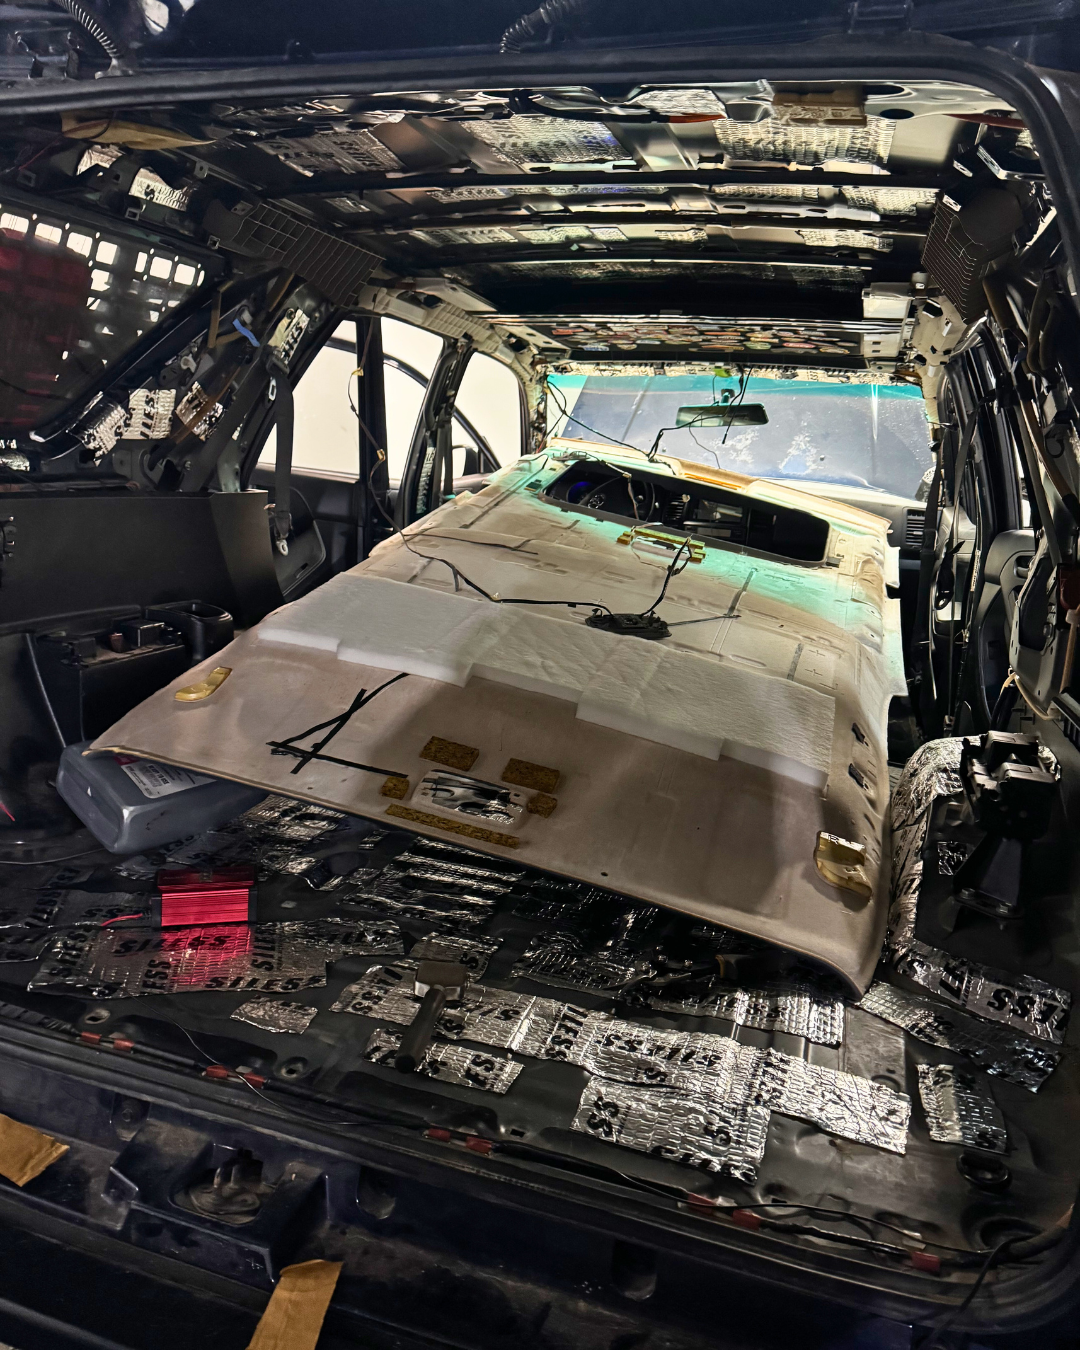
A Look Back at the Builds
Here are a few of the shop moments, teardowns, rewiring sessions, and finished rigs that shaped our approach to building a 4Runner the right way.

4Runner Build FAQ
What is the best advice for building a 4Runner?
Buy the right parts the first time, use the truck before overbuilding it, and plan wiring and electrical systems around future upgrades instead of just your current setup.
Should I mod my 4Runner before taking it on trails?
Not always. A stock or lightly modified 4Runner is more capable than most people think. It is often smarter to use the truck first and upgrade based on the trails you actually run.
What 4Runner mods should come first?
Suspension, tires, and a build plan usually matter more than rushing into expensive armor or drivetrain upgrades. Start with the parts that support the way you really use the truck.
Why is wiring planning so important on a 4Runner build?
Because most builds grow over time. Planning circuits, service loops, switch locations, and future power needs now prevents expensive rewiring later.
What Is Coming Next
Our next blog post will break down one of our shop rigs completely, including every modification, what worked, what did not, and what we would change next. Hopefully these lessons help your 4Runner build go smoother and save you from some of the mistakes we made.
If you need parts, advice, or just want to talk shop, reach out. We genuinely love hearing about new 4Runner projects.